
Step-By-Step Construction Guide
The Blueprint for a Successful Build
Guiding you through the process
Your Step-By-Step Guide to Building Your Dream Home
Building your dream home, addition, or ADU from the ground up doesn’t have to be overwhelming. Many steps are required, but choosing the right design-build contractor can make the process run smoothly. Here is a step-by-step guide to familiarize you with the process and to prepare you for building the home of your dreams. When you’re ready to get started, give us a call and we’ll walk you through each step.
Concept & Design
The first place to start with concept and design is to analyze the property you’re building on. There are two basic options to choose from: an empty lot, or a house already in place.
Before talking to any professionals, you need to figure out what size and style house you are looking for. It’s best if you have a general design concept in mind, but your general contractor can also be a great resource for advice. Keep these things in mind:
1) Bedrooms: Number of bedrooms, size, placement?
2) Bathrooms: Number of bathrooms, full size, what to include?
3) Extra Rooms: Do you want a home office, living and family room, fireplaces?
4) Kitchen: Kitchens are complicated, so think about your flow, and how you will be cooking. Where would you like to locate your appliances and what kind do you want? Keep in mind that a triangle with a perimeter of no more then 39 linear feet ensures comfortable movement in the kitchen.
5) One Story or Two: Would you like to have a two-story house or a single level? How do you want to orient the walls? Would you like a front entrance, garage or driveway?
6) Design Style: Everybody has seen houses they like, so be prepared with style examples that demonstrate what you’d like to achieve.
7) Exterior Materials: Consider exterior materials such as your choice of roofing, stucco or siding, details for windows, front door, and type of windows.
8) Interior Materials: Develop a list of materials with your designer for decoration, plumbing and electrical fixtures, tiles, type of cabinetry and countertops.
After you have developed your concept, it’s time to hire a professional who can best design that dream home. You can choose an independent architect, structural engineer, civil engineer or choose a design-build company that has their own architect and builders who work with you from concept to completion.
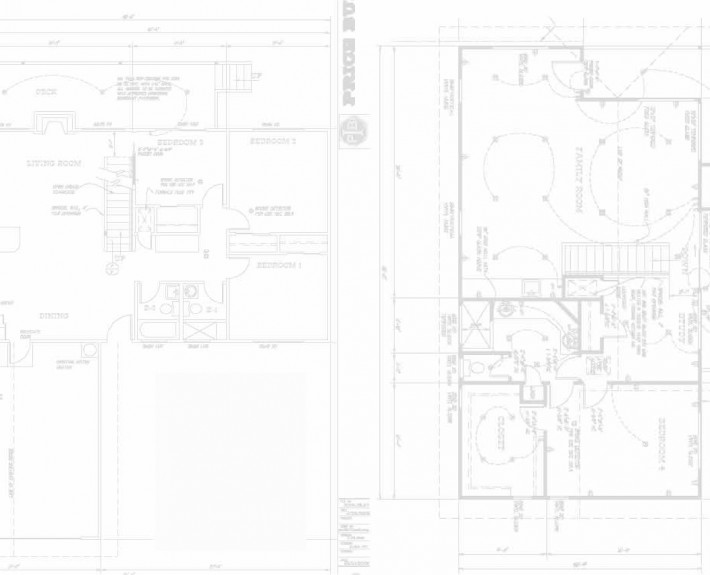
Once you’ve chosen your designer, preliminary plans are drawn up. This most likely includes a floor plan and, after some revisions and corrections, your ideal layout will be finalized. At this point your designer should provide you with elevation views for the front, side and rear, so you can see and revise the details of your dream home.
Once the design is completed, a civil engineer reviews an outline of the building plans and provides a soil report to inform structural calculations and recommendations.
Permitting Process
Once your design is finalized, the next step is to obtain the correct permits to build your home. Each city has a building development department that manages approval of several building codes to ensure that any home renovations or remodels are constructed in a safe way. There are several types of permits needed depending on the type of construction you need. These include structural, plumbing, mechanical, electrical and combination, which is used for single-family home construction and other small projects. Most projects done by homeowners require a combination permit.
Your final plans are submitted to the building department for review and validation. The time it takes the city to review the plans and provide comments or corrections depends on the complexity of the project. Many departments are usually involved at this stage, including planning, combine review, structural and civil engineering. If any corrections are needed, the plan is re-submitted and eventually approved. Once approved, you and your general contractor can start the construction process.
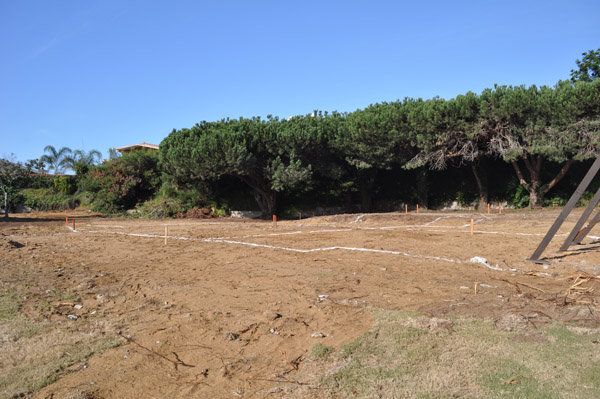
Grading & Site Preparation
The first crew at the site handles site preparation. They will prepare the site for construction by removing all vegetation, rocks, debris and any structures that interfere with the footprint of the new house. Portions that will be incorporated into the new construction will be prepared as well. After the site is cleared, and leveled if necessary, the crew can begin on the footing. The footing is a mass of concrete that supports the foundation of the house. This is the most important and fundamental step in building a house because, if done incorrectly, the home can shift or the foundation can crack. You want to do it once and do it right.
At this point, local building inspectors will usually check the location, depth, width, and soil suitability of the foundation footings before concrete is poured. This ensures the footings are deep enough and rest on stable earth. Once the footings are poured, preparations can begin for your underground utilities and then the foundation.
Underground Utilities
At this point it is time to place underground utilities such as the sewer line, water line and electrical components. It is preferable to locate water pipes above the concrete slabs so they are easier to repair if needed. Water lines under concrete are expensive to repair. The same goes for the sewage lines for your showers and toilets. Electrical supplies and feeds for electrical panels, however, are best placed under the concrete slab.
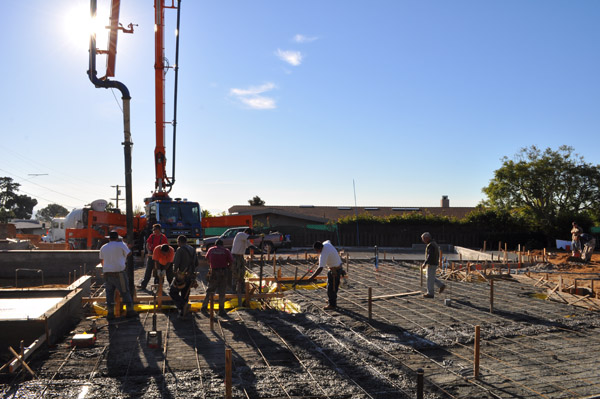
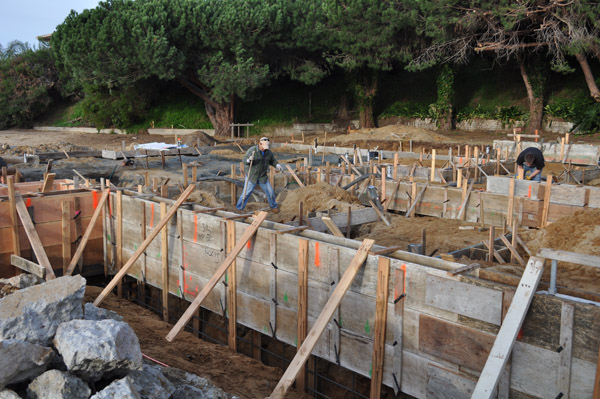
Foundation Construction & Concrete Slab
Slabs, basements and crawl spaces are the three main foundation systems used on houses. A soil test is done before construction begins to ensure the soil will hold the structure you wish to build. The engineer will have determined the best solution for your soil type, and trenches fitting that plan will now be dug for your foundation.
A strong foundation includes a combination of steel reinforcing bars, footings, slab and concrete. With the underground plumbing and utilities laid, and your first inspection passed, you can move forward with building the foundation. Rebar and moisture barriers are prepared for another inspection. Once approved, the final concrete can be poured. The concrete is poured at the same time as the footings and slab, and reaches 70% of its strength at 7 days and 100% at 28 days.
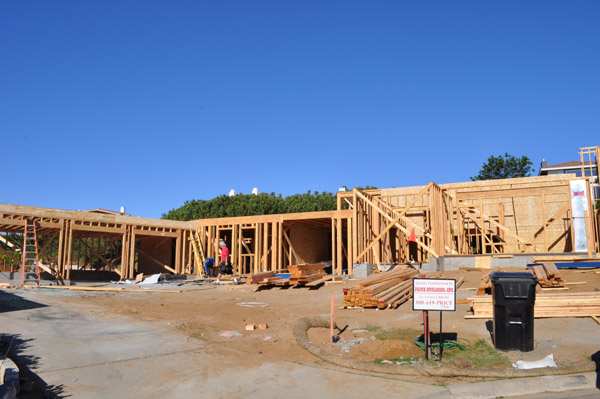
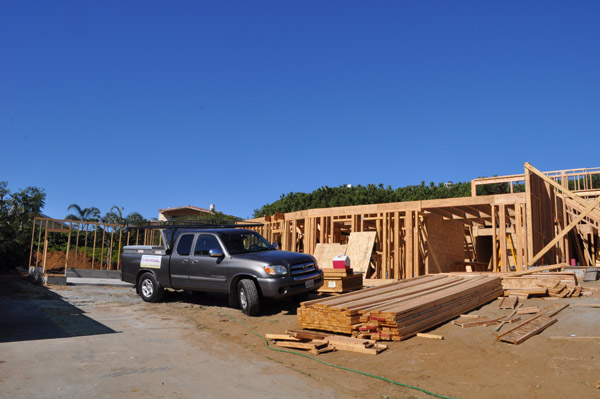
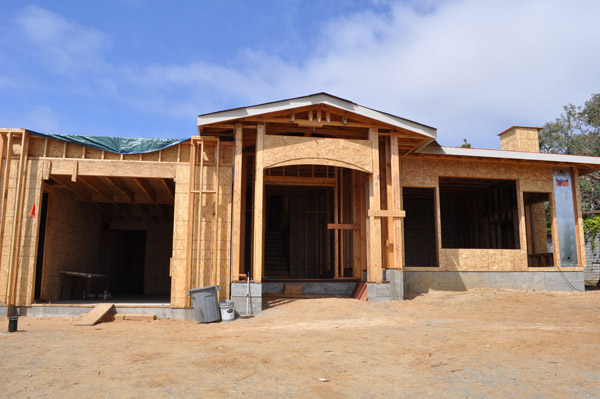
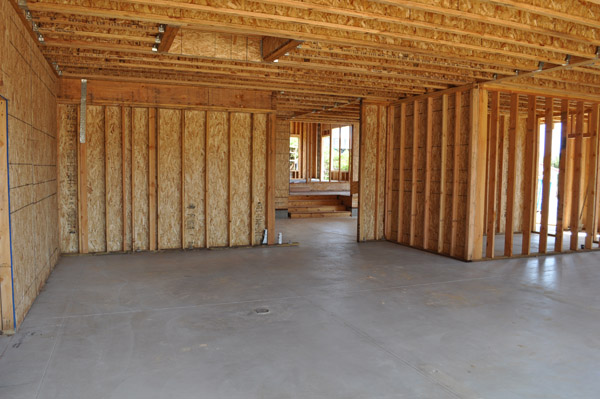
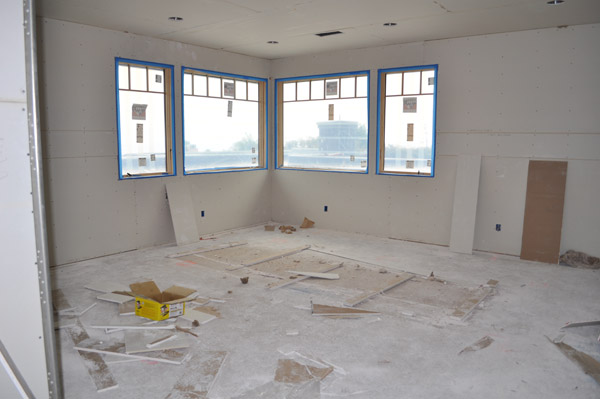
Framing & Installation of Hardware
Now that you’re at the framing stage, it’s easy to see daily progress and this is where the excitement begins as your dream home takes shape before your eyes. It can be difficult to visualize how the various spaces of a home come together, but this stage makes it possible to experience the sizes of your rooms, hallways, bathrooms, etc. If you notice some areas are not built to your expectations, now is the time to make any adjustments.
Including in the framing are the beams, rafters, and hardware. This is a critical part of the construction process, because everything needs to be framed and lined up perfectly. Here is where you and your contractor need to think about everything within the larger picture – the electrical, plumbing, water proofing, windows, and doors – to keep your dream in perspective.
Exterior Windows & Doors
By this point, you will have selected your exterior windows and doors. Your contractor will install each window and door into the rough opening and adhere it to the home, fully enclosing your new house.
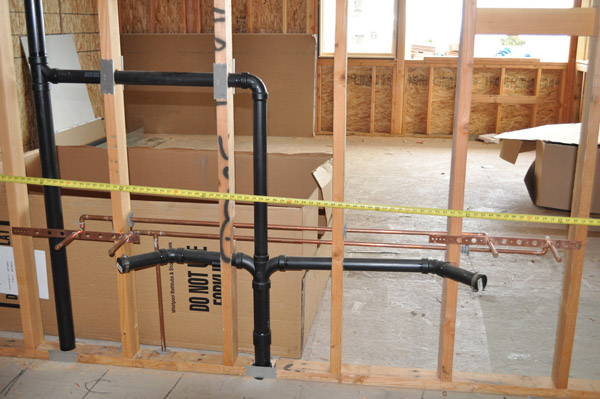
Rough Plumbing, Electrical & HVAC
At this stage, your general contractor will bring in specialized subcontractors to handle the rough plumbing, electrical and HVAC systems within your home. The plumber will install all the water lines, sewer lines and bathtubs. The HVAC subcontractor will install your heating, ventilation and air conditioning systems. The electrician will install wires, electrical outlets, lights, and switches. They will also talk with you about using energy efficient solutions.

Roofing
At this point the roof is installed. It is common practice today to use prefabricated trusses, triangular wooden structures that support the roofing. They have many advantages, but they limit the use of attic space. Once the trusses are in place, the roof is covered in plywood or OSB, which give the roof its strength.
Once the roof is completed, an inspection will be done to test for safety.
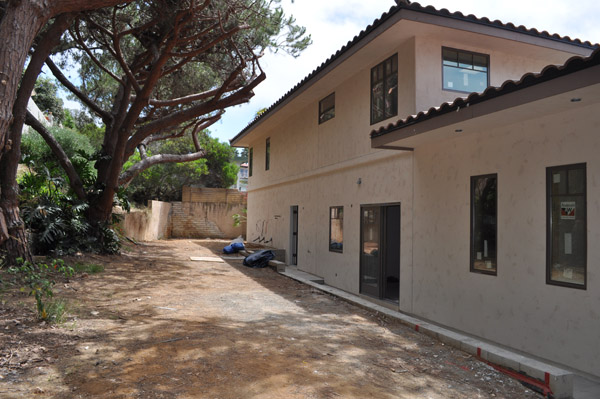
Siding or Exterior Lath
With the roof in place, the siding of the home can be installed to finalize the home’s enclosure. The main purpose of these materials is to protect the house from external elements, so many precautions are taken to ensure they do.
To protect the wood framing from moisture, an exterior lath is installed over a weather-resistant asphalt-
Insulation
Insulation plays an instrumental role in creating a comfortable, consistent indoor climate while improving your home’s energy efficiency. The exterior walls of your home are usually the only ones that will be insulated, except for special rooms such as a wine or sun room. Insulation begins with the placement of foam channels in the eaves to guarantee the proper flow of air. Then standard fiberglass insulation is installed throughout your home, covered by a thin plastic vapor barrier.
Once your insulation is completely installed, another inspection will take place.
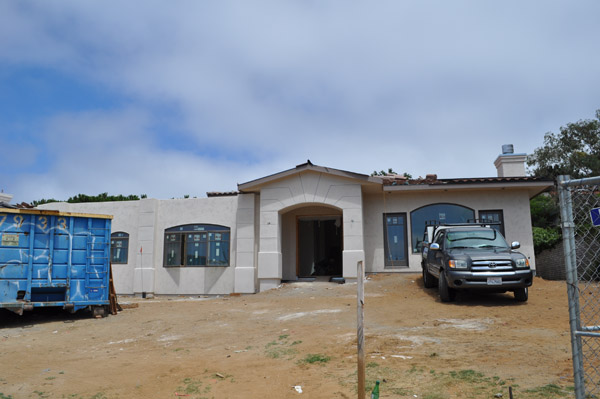
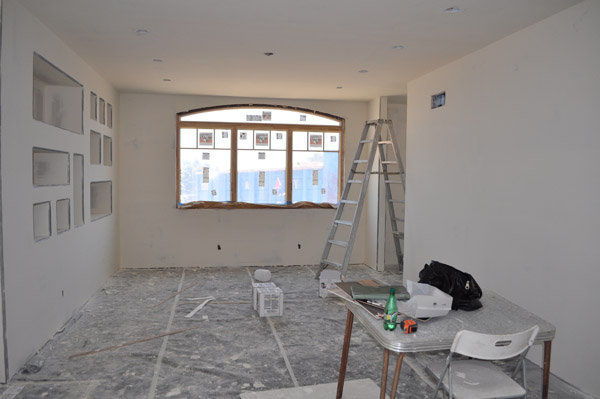
Drywall & Completion of Stucco
Once the exterior is protected and the siding or final layer of stucco is applied, your contractor will hang drywall for your interior walls. Drywall is also known as “plaster board” or “sheetrock,” and is a thin layer of plaster sandwiched between two thick sheets of paper. It is remarkably solid, and also remarkably heavy. It is preferable to install it with screws, since nails are more likely to pop out when the wood dries and shrinks.

Underlayment for Wall Tile & Waterproofing
With your home completely enclosed, now is the time to make certain it is waterproofed properly. It will need to be tested and inspected. There are 2 ways to properly waterproof your home – using black paper and chicken wire, or cement board that is properly taped. Adding a special covering will protect from water penetration.
Interior Doors, Baseboards & Trim
After the dry wall is hung, or even before, your contractor will measure all the doors, make sure the swings are on correct side and that switches are uncovered. Your contractor will order both the jam and door itself, and install the casing on both sides of door. You can choose a bull nose, Spanish or Tuscan style. This will have been decided by you and your architect. The crown molding will be installed after the dry wall is up. Baseboards are installed next, with the style depending on the flooring you’ve chosen. If your choice is carpet, the baseboards will be put in place first. If choosing laminate or wood, the baseboards will be installed last. After painting is done and the doors hung, the locks and deadbolts will be put in place.
Painting & Staining
Typically your contractor will apply a primer, and then two coats of paint. Good paints these days include those from Sherwin Williams, which are usually very good quality. For wood windows, staining is recommended rather than paint. Lacquer on top of your stained windows performs very well, and will keep them protected.
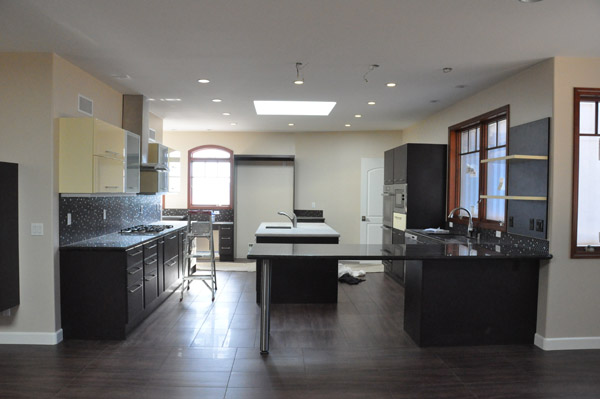
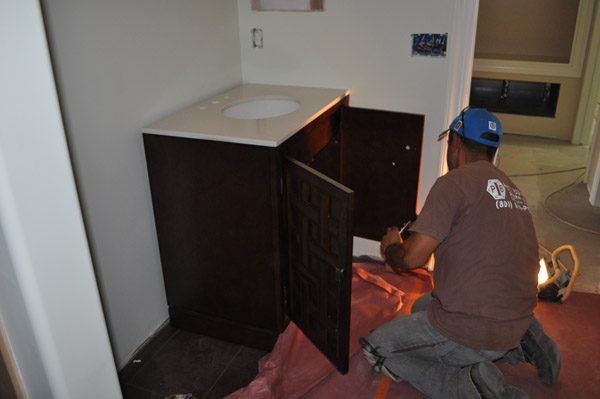
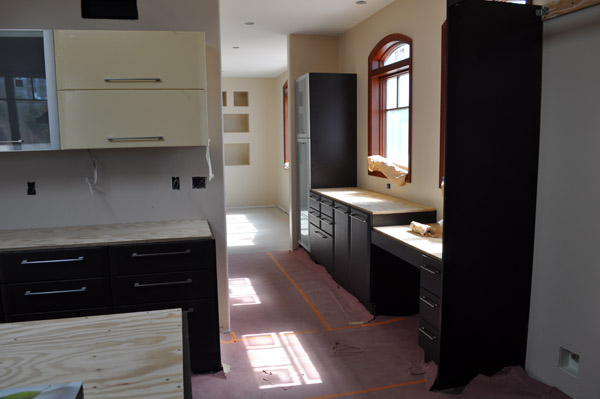
Bathroom & Kitchen Counters & Cabinets
Adjustments to any bathroom and kitchen counters and cabinets need to be made during the framing stage. After the drywall is done, final measurement for cabinets are made. With the walls primed, the cabinets are installed. Templates are made for surface counter tops, be they marble, granite, or another material. Depending on the age detail, the custom counter tops are installed within 3 weeks. All faucets and sinks should be ready at time of templating. The templates are then used to correctly drill holes through the counter tops for connection to the water lines.
Finish Plumbing
With the interior of the home nearly complete, it is now time to finish the plumbing. Your contractor will make sure all the lines and pipes are securely connected and working properly, and then will install all faucets, shower fixtures, and other plumbing finishes.
Finish Electrical & HVAC
After cabinets and counter tops have been installed in both the kitchen and bathrooms, all electricity and HVAC units will be tested to ensure they are working properly.
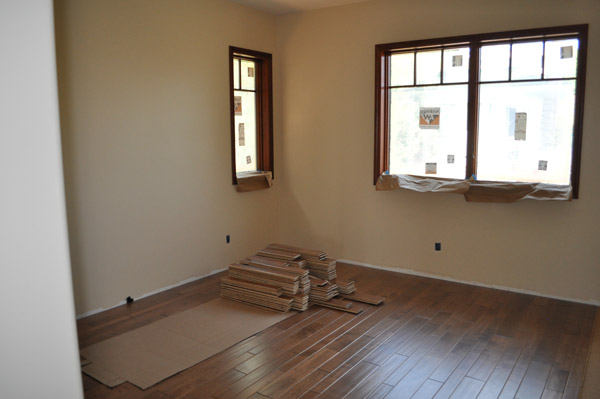
Carpet & Flooring
The flooring goes in once the painting is finished. Whether it’s carpet, hardwood or tile, saving this step for last avoids the risk of damage during all the other construction work.
Hookup to Water, Sewer or Septic
Depending on the location of the home, it will either have a private well and septic system or it will hook up to the city’s water and sewer lines. The contractor will bring in the appropriate subcontractors to connect the house to the well or to extend the municipal lines to the house. Then the plumbing is hooked up to the water and sewer lines and tested for proper functioning.

Punch List
At the very end, the homeowner and builder walk through the home together to make a list of any remaining details that need to be corrected or completed. This typically includes small items such as painting and cleanup of the site. It is preferable to work out these details during the final stages of the project, but this last step ensures no items have been overlooked and covers any items set aside to be dealt with at the end.